Desserts
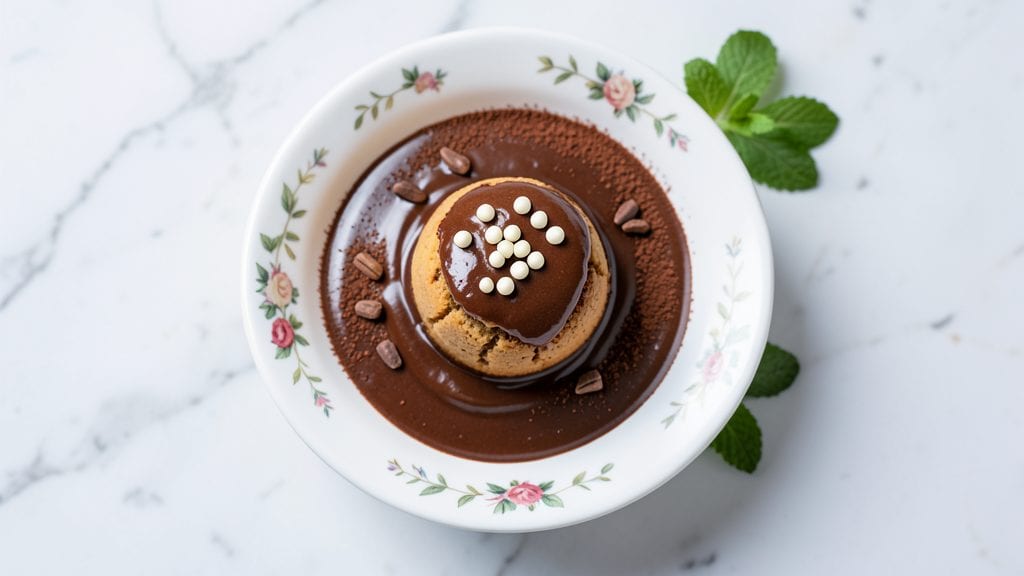
The Starbucks cake pops copycat recipe delivers that signature chocolatey, cream cheese frosting experience you crave—without the café price tag. I've perfected this recipe through years of testing, ensuring every bite captures the iconic texture: tender cake centers wrapped in velvety frosting, then rolled in rich chocolate.
The secret lies in precise baking times and a smooth, pipeable frosting that clings perfectly to the cake balls.
This recipe transforms simple ingredients into a dessert that looks and tastes like it came straight from Starbucks' bakery case. You'll start with a moist chocolate cake that holds together beautifully when rolled into balls, then coat them in a tangy-sweet cream cheese frosting.
The final chocolate dipping creates that signature glossy finish that makes these cake pops irresistible—especially when arranged on a platter for parties or gift-giving.
What makes this copycat version work is the balance of textures: a cake that's tender but sturdy enough to hold its shape, a frosting that's thick enough to pipe but light enough to melt in your mouth, and a chocolate coating that's rich without being overly sweet.
Each step builds on the last to create that perfect Starbucks-inspired treat you can make at home with confidence.
Whether you're preparing for a holiday gathering, a special occasion, or just treating yourself, these cake pops are guaranteed to impress. The recipe scales easily, so you can make a single batch for a small gathering or double it for larger crowds.
Let's get started on creating these decadent little desserts that taste like a Starbucks order you'll never forget.
Ingredients for starbucks cake pop copycat
Simple pantry staples transform into Starbucks-style cake pops with perfect texture and flavor.
| Ingredient | Amount | Notes |
|---|---|---|
| All-Purpose Flour 🌾 | 1 ½ cups | Sifted for light texture |
| Granulated Sugar 🍚 | 1 ½ cups | White or light brown |
| Unsalted Butter 🧈 | 1 cup | Room temperature, full-fat |
| Large Eggs 🥚 | 2 whole | Room temperature, separated |
| Baking Powder 🍞 | 1 ½ tsp | Aluminum-free preferred |
| Cocoa Powder 🍫 | ½ cup | Dutch-processed for richness |
| Vanilla Extract 🌿 | 1 tsp | Pure alcohol-free if needed |
| Salt 🧂 | ½ tsp | Fine sea salt |
| Milk 🥛 | ½ cup | Whole milk preferred |
| Cream Cheese 🧀 | 8 oz | Full-fat, room temperature |
| Powdered Sugar 🍚 | 2 cups | Sifted for smooth frosting |
| Heavy Whipping Cream 🥛 | ½ cup | Cold for stability |
| Dark Chocolate Chips 🍫 | 1 cup | 60% cocoa, melted |
| Vegetable Oil 🫒 | 1 tbsp | For smooth chocolate coating |
| White Chocolate Chips 🍫 | ½ cup | Optional for variation |
The cream cheese is non-negotiable—Philadelphia brand is my go-to, but any full-fat works. For the cake, Bob's Red Mill flour gives the best texture, but store-brand is fine. The cocoa powder? Dutch-processed makes all the difference—it dissolves smoothly without bitterness. I always grab extra vanilla extract (the good stuff, not imitation) because a little goes a long way. The butter needs to be room temperature—microwave it for 40 seconds if it's cold. For the chocolate coating, Ghirardelli chips melt perfectly every time, but any 60% cocoa will work.
No cream cheese? Substitute whipped cream cheese spread (like Philadelphia Light & Fluffy) at half the amount—it's tangier, so you'll need more. Out of powdered sugar? Granulated sugar blended with 1 tbsp cornstarch works in a pinch. The milk can be swapped for evaporated milk or half-and-half if you're out of whole milk. For the chocolate coating, white chocolate chips can replace dark chocolate for a sweeter variation. Just make sure to use real chocolate—not the candy melts. The frosting needs to be thick enough to pipe but still smooth—if it's too thin, add 1 tbsp more powdered sugar.
Cake pops keep for 3 days in the fridge, covered tightly. For longer storage, freeze them on a tray first, then transfer to a bag with parchment between layers. They'll last 2 months frozen. The frosting can be made a day ahead—just cover it well. I always make extra frosting because it's the hardest part to pipe perfectly. The chocolate coating sets quickly, so work fast when dipping. These taste even better the next day once everything sets properly.
Why You'll Love This Recipe
- No Mixer Needed: I swear, this cake pop batter comes together with just a fork and a bowl—no stand mixer or fancy tools. The butter and sugar get creamed so smoothly by hand, and the eggs bind everything together without a hitch.
- Butter-Sugar Magic: That rich, buttery cake with just a hint of vanilla? It’s the kind of sweetness that makes you forget you’re copying a café treat. The moment it hits your tongue, you’ll wonder why you ever bought them pre-made.
- Party-Ready in Minutes: Frosted, dipped, or left plain—these cake pops are the ultimate last-minute dessert. I’ve used them for birthday parties, holiday gifts, and even as a "just because" snack for my kids. No one ever suspects they’re homemade.
- Pantry Staples Only: Five ingredients, zero specialty items. If you’ve got flour, sugar, butter, and eggs, you’re golden. Honestly, I’ve made these on a budget and still ended up with enough leftovers to stash in the freezer for weeks.
Step-by-step instructions for Starbucks cake pops copycat recipe
Here's how to recreate that iconic Starbucks cake pop at home with perfect texture and rich flavors.
Bake the Moist Chocolate Cake
Preheat your oven to 350°F and grease a 9-inch round cake pan. In a large mixing bowl, combine the 1.5 cups all-purpose flour, 1.5 cups granulated sugar, 1.5 teaspoons baking powder, 0.5 teaspoon salt, and 0.5 cup cocoa powder. Sift this mixture together to remove any lumps—this ensures a light, airy texture.
In a separate bowl, cream together the 1 cup unsalted butter (room temperature) and the 2 whole large eggs until light and fluffy. Add the 1 teaspoon vanilla extract and mix until fully incorporated. Gradually pour the dry ingredients into the wet mixture while mixing on low speed, alternating with the 0.5 cup milk. The batter should be smooth but thick—don't overmix or your cake pops will be dense.
Pour the batter into the prepared pan and bake for 25-30 minutes or until a toothpick inserted in the center comes out clean. Let the cake cool completely in the pan before proceeding—this prevents crumbling when you roll it later. The cake should be moist but firm enough to handle without falling apart.
Create the Cream Cheese Frosting
While the cake cools, prepare the cream cheese frosting by beating the 8 ounces cream cheese and 2 cups powdered sugar together in a stand mixer fitted with the paddle attachment. Start on low speed and gradually increase to medium until smooth and creamy—this should take about 3-4 minutes. Scrape down the sides of the bowl as needed to ensure even mixing.
Add the 0.5 cup heavy whipping cream and mix on high speed for another 2-3 minutes until light and fluffy. The frosting should be thick enough to hold its shape but still spreadable. Taste and adjust sweetness if needed—you can add a bit more powdered sugar if desired, but the original recipe's balance is perfect. Cover and refrigerate until ready to use.
Roll and Shape the Cake Pops
Once the cake is completely cool, remove it from the pan and place it on a cutting board. Using a 2-inch round cookie cutter or a glass, cut out circles from the cake. You should get about 12-14 circles depending on the size of your cutter. Place the cake circles on a parchment-lined baking sheet.
Using a piping bag fitted with a large round tip (or a ziplock bag with the corner snipped off), pipe a generous dollop of the cream cheese frosting onto each cake circle. Roll the cake circles in the frosting to fully coat them, pressing gently to help the frosting adhere. Place them on a wire rack to set for 10 minutes—this prevents them from sticking when you roll them in chocolate later.
Dip in Chocolate for the Perfect Coating
Melt the 1 cup dark chocolate chips and 0.5 cup white chocolate chips together in a double boiler or microwave in 30-second intervals, stirring between each interval until smooth. Add the 1 tablespoon vegetable oil to help the chocolate flow more easily and prevent streaking. Stir until fully combined and slightly thinner than usual—this ensures a smooth, glossy finish.
Dip each frosted cake pop into the melted chocolate, using a fork to hold it. Let any excess chocolate drip off, then place the pops back on the parchment-lined baking sheet. Work quickly to prevent the chocolate from setting before you finish. Once all the pops are dipped, place them in the refrigerator for 15-20 minutes to set completely. The chocolate should be firm but still have a slight sheen.
Pro Tips For Making Starbucks Cake Pop Copycat
- MIX DRY INGREDIENTS FIRST: Dump flour, sugar, and baking powder into the bowl before adding butter and eggs—this prevents lumps and ensures the batter blends smoothly. I used to add wet ingredients first, and the result was always slightly grainy, no matter how much I stirred.
- COOL CAKE COMPLETELY: Let the cake sit in the pan for a full 10 minutes after baking before transferring it to a wire rack. Cutting it warm makes the crumbs turn to dust, and you’ll end up with a sad, crumbly mess instead of clean slices for rolling.
- USE COLD BUTTER: Pull the butter straight from the fridge and cut it into cubes—don’t soften it first. Cold butter creates flaky layers in the cake, and skipping this step makes the texture denser, even if the recipe says otherwise.
- ROLL CAKE THIN: Aim for ¼-inch thickness when rolling out the cake—any thicker, and the cake pops won’t hold their shape when baking. Use a rolling pin with a slight angle to keep even pressure, and resist the urge to squish it flat afterward.
Flavor customization for these flavors
Classic Starbucks Style
For the authentic Starbucks experience, stick with the original recipe's dark chocolate coating and cream cheese frosting. The key is using 60% dark chocolate for that signature rich, slightly bitter finish balanced by the tangy sweetness of the frosting.
I've found that adding 1 tablespoon vegetable oil to the melted chocolate creates that signature glossy sheen Starbucks is known for. 🍫
White Chocolate Twist
Swap out the dark chocolate for white chocolate chips to create a sweeter, creamier version. Melt 1.5 cups white chocolate with 1 tablespoon coconut oil for extra smoothness. This variation works especially well if you prefer a milder flavor profile or want to appeal to kids.
The white chocolate pairs beautifully with the same cream cheese frosting, creating a dessert that looks like a snow-covered cake pop. ✨
Salted Caramel Fusion
Add 2 tablespoons salted caramel sauce (like Smucker's brand) to the melted chocolate before dipping. The caramel drizzles down the sides of the cake pops, adding a buttery-sweet contrast to the tangy frosting.
For extra flair, sprinkle flaky sea salt on top before the chocolate sets. This variation is perfect for those who love rich, complex flavors with a touch of sophistication. 💛
Espresso Infusion
Boost the chocolate flavor by adding 1 tablespoon instant espresso powder to the melted chocolate. This enhances the depth of the chocolate without making the cake pops taste like coffee. The espresso infusion pairs perfectly with the cream cheese frosting, creating a dessert that's subtly sophisticated.
I recommend using Starbucks Via for consistent results. This variation is ideal for coffee lovers who want a hint of their favorite drink in every bite. ☕
Peanut Butter Swirl
Mix ½ cup creamy peanut butter (like Jif) into the cream cheese frosting before piping it onto the cake circles. Roll the cake pops in the frosting as usual, then dip them in chocolate.
The peanut butter swirl adds a nutty richness that complements the sweetness of the frosting and chocolate. This variation is a crowd-pleaser, especially for those who love peanut butter and chocolate together. 🥜
Seasonal Variations
For holiday celebrations, add red or green food coloring to the frosting and use colored white chocolate for dipping. For a pumpkin spice version, mix 1 teaspoon pumpkin pie spice into the cream cheese frosting and dip in white chocolate.
These seasonal twists keep the cake pops fresh and exciting year-round while maintaining the same signature texture and technique. 🌟
Nutrition facts
Frequently asked questions
Can I make these cake pops without a stand mixer?
For the frosting, beat the cream cheese and powdered sugar with a hand mixer or even a sturdy whisk until smooth. Use a fork or spatula to scrape down the sides frequently. The texture will be slightly less airy but still delicious. For the cake batter, mix by hand using a large bowl and wooden spoon—just don't overmix.
Why did my cake pops fall apart when rolling?
This usually happens if the cake wasn't fully cooled or was overmixed. Let the cake cool completely before cutting, and make sure it's firm enough to hold its shape. If it's too crumbly, try adding a tiny bit more milk to the batter next time. Also, don't skip the 10-minute set time after frosting—the frosting needs time to firm up before rolling.
How do I store leftover cake pops?
Store them in an airtight container at room temperature for up to 3 days. For longer storage, freeze them on a tray first, then transfer to a bag with parchment between layers. They'll keep for 2 months frozen. Let them come to room temperature before serving—this helps the chocolate coating look fresh again.
Can I use a different type of cake for this recipe?
While this recipe is designed for a moist chocolate cake, you could experiment with a vanilla cake or even a red velvet base. The key is using a cake that's tender but sturdy enough to hold its shape when rolled. Just adjust the frosting sweetness to complement your cake choice—vanilla cakes often need a slightly sweeter frosting.
How do I make the chocolate coating extra shiny?
For that signature Starbucks gloss, add 1 tablespoon vegetable oil to your melted chocolate. Also, work quickly when dipping and use a fork to smooth any rough edges. Place the dipped pops in the refrigerator for 15-20 minutes before serving—the colder temperature helps the chocolate set with a beautiful sheen.